How to Make an Interactive Map for a Local Farmers Market (No Coding Needed)
Organizing a farmers market means managing a lot of moving parts - vendors, locations, schedules, and visitor information. A simple, interactive map can save you time, reduce questions, and help visitors navigate the market with ease.
And the best part? You can create it in under 30 minutes - with no coding or design skills needed.
In this guide, we’ll show you how to build an interactive farmers market map step by step using a real example and a free map-making tool.
Why Your Market Needs a Map
An interactive map helps your market stand out and improves the visitor experience. It allows people to:
- See where each vendor is located
- Know what each stand offers (produce, honey, flowers, baked goods, etc.)
- Plan their visit ahead of time
- Share the map with friends or on social media
- Reduce questions and confusion on the day of the event
For vendors, a clear map means more foot traffic and better visibility.
Real Example: Marché Bio des Batignolles (Paris, France)
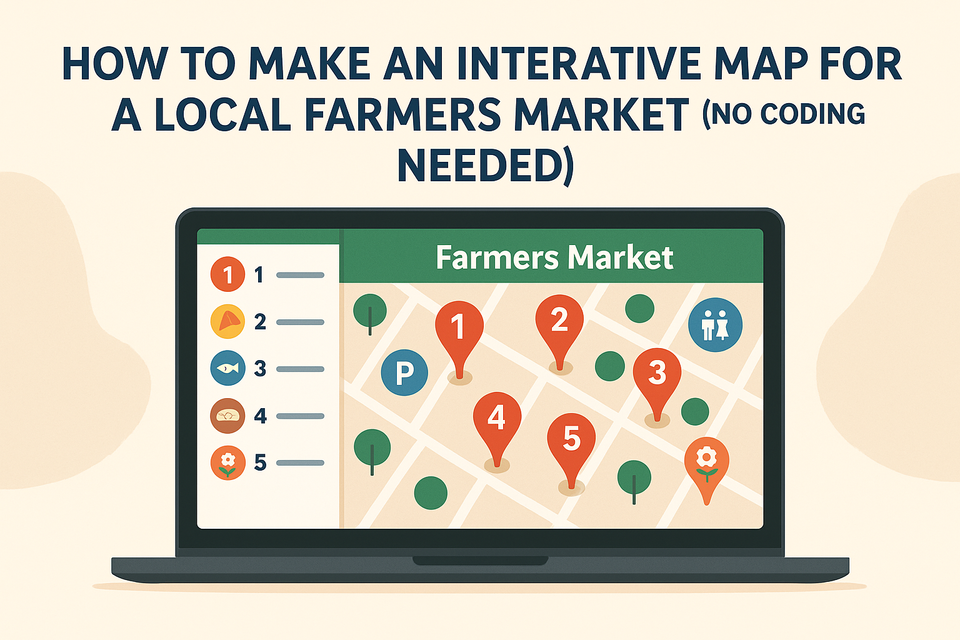
This neighborhood farmers market in Paris features dozens of vendors spread along a small street. To make it easier for regulars and new visitors to explore, the organizers created a simple interactive map showing:
- Stall numbers and vendor names
- Icons for types of products (vegetables, cheese, bread, etc.)
- Notes for seasonal or rotating vendors
- Location of toilets, recycling bins, or nearby bike racks
It’s embedded on the market’s homepage and updated every season with a few clicks — no technical skills needed.
Step-by-Step: Build Your Own Farmers Market Map
1. Choose a Free, No-Code Map Tool
Use makememap.com, a tool designed for non-technical users. You can start for free, create your first map in minutes, and share it with a link or embed it on your website.
2. Add Each Vendor or Stand
For each booth or participant, add a pin to the map with:
- Vendor name
- Description (what they sell, local certifications, specialties)
- Optional: links to their website or Instagram
- Optional: photo of their stand or products
You can use categories or color-coded pins — for example, one color for farmers, another for prepared foods, and another for crafts.
3. Customize the Look
Adjust the map’s color scheme to match your market branding or event theme. You can:
- Change pin icons
- Upload your market logo
- Control the zoom level and layout
- Add filters (e.g. “organic certified”, “vegan options”)
4. Share and Update Anytime
Once your map is live, you can:
- Embed it on your website’s “Visit Us” or “Vendors” page
- Share the direct link on social media
- Print a QR code to display around the market
You can update vendor info at any time — no need to reupload or rebuild the whole map.
Bonus Features
- Use the map year-round for seasonal events or holiday markets
- Highlight new vendors or special guests
- Add accessibility details (parking, wheelchair access, restrooms)
- Export the map as a visual layout for internal planning or vendor setup
Ready to Get Started?
You don’t need a developer or designer. All you need is your vendor list and 30 minutes of your time.